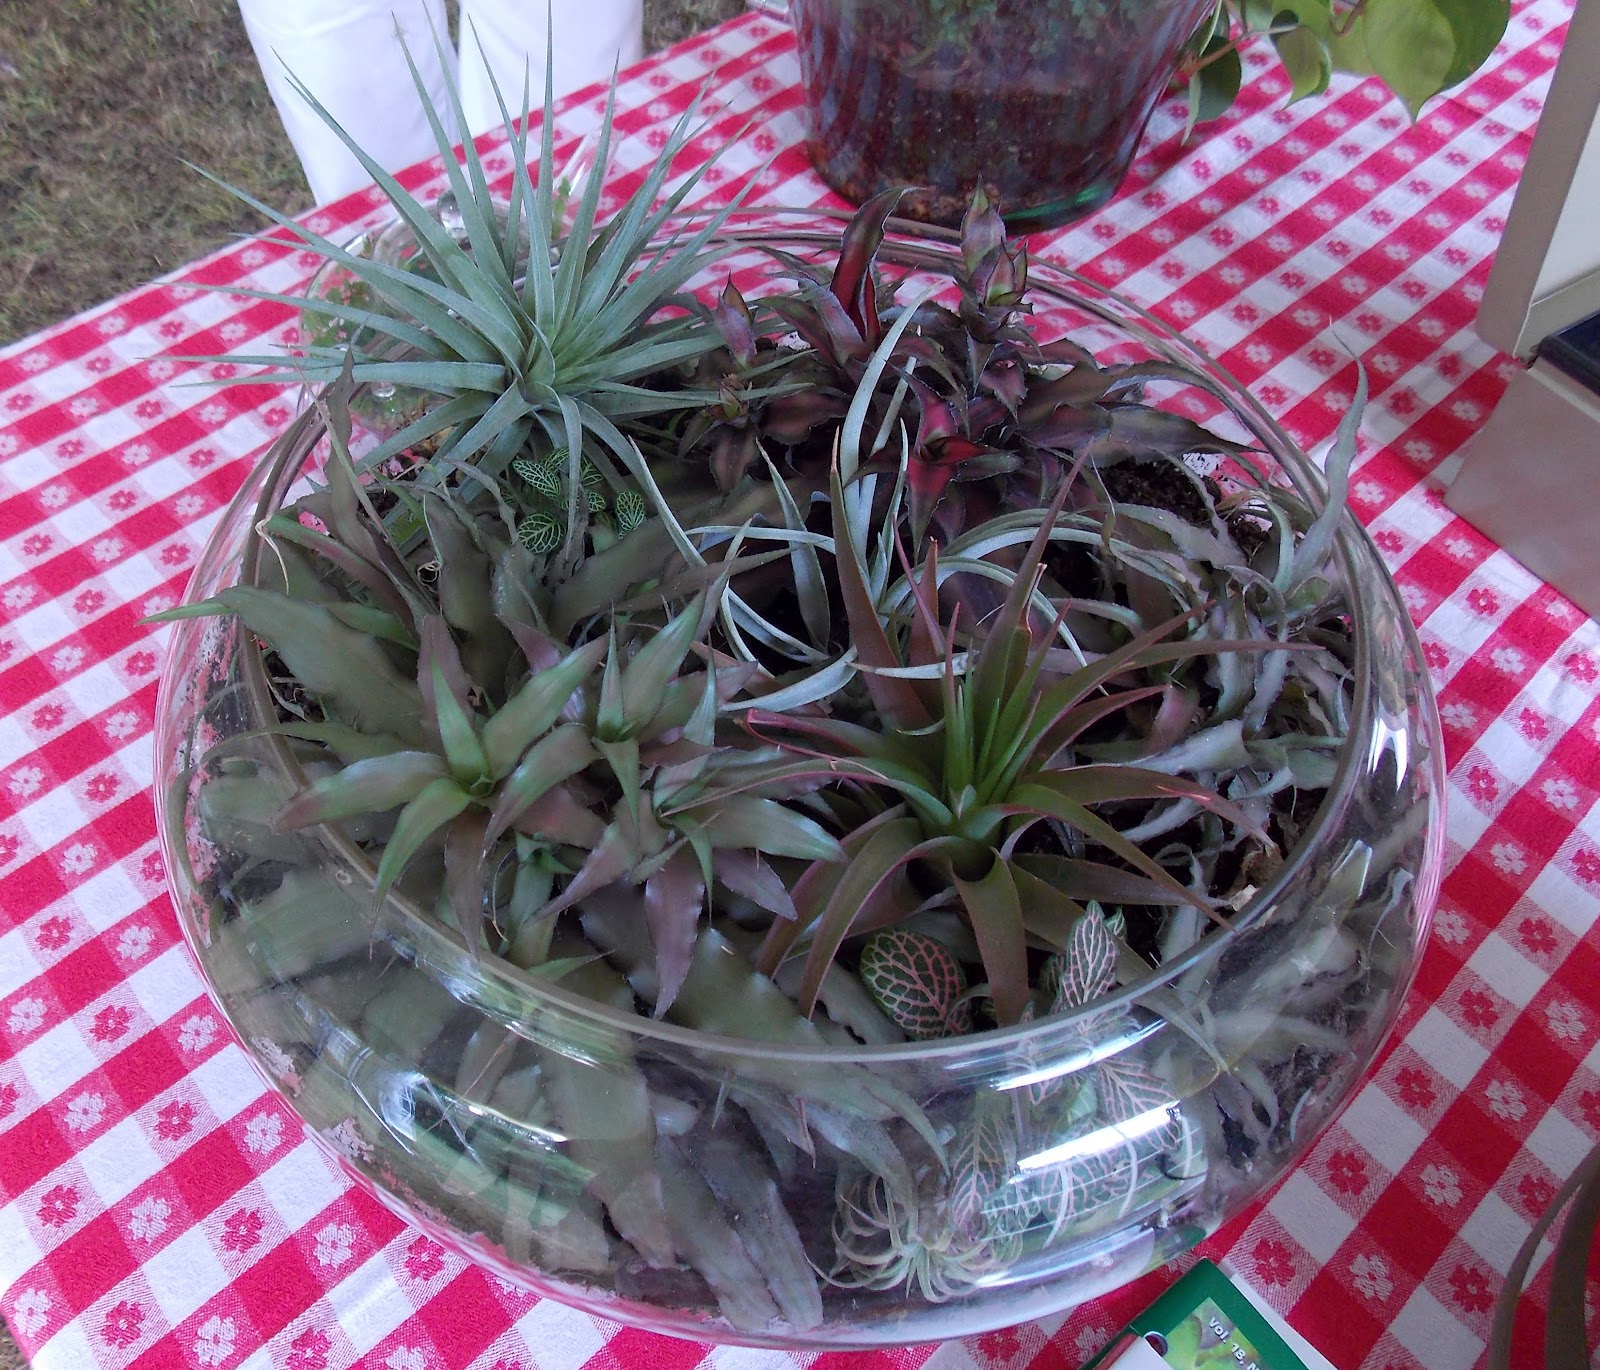
Thursday, September 20, 2012

Shop Seven...


In the Berkshires of western Massachusetts, Route Seven is the bucolic north south route, winding through rural communities and the ‘bright lights, big city’ of Pittsfield.  From Sheffield at the southern border with CT to Williamstown at the northern border with VT, Route Seven is known as the antique corridor. 

Gardening is almost as popular with many fine shops, nurseries and local growers who put out a summer table with an honesty box in their front yard.  The best of the home/garden/gift stores is Campo de Fiori.  They operate a huge wholesale business, supplying stores across the country.   Their only retail store is on route 7 in Sheffield.


Open every day but Christmas and New Year’s, this beautiful store beguiles with gifts and products for all the senses.

From spring to autumn, the gardens surrounding the store brim with ideas and fascinating plant combinations along with one-of-a-kind objects that delight and surprise.


Mexico is the main source of much of what they design and sell, with various clay pots of all shapes and sizes being a specialty. 


The huge building is overflowing with plants real and faux, garden tools, candles and soaps, planters and vases, pillows and lovely jewelry.


Upstairs, furniture - tables & chairs - framed prints, accessories and more temptations all attractively presented, waiting to be taken home.


You’ll find it hard to leave empty-handed.
Cheers!

Sunday, September 16, 2012

Solder On...


Structures were the theme of flowerflinging Camp here at my studio in the Berkshires in August. 


One structure that I wanted to create got lost in the merriment and the more fascinating ideas.  Above is the forlorn project in the garage.  I have to confess I have an inordinate fear of soldering. Copper tubing is a wonderful, shapeable material and it comes in coils of various diameter.  The larger the diameter the stronger the tubing.   


Last year at the Philadelphia Flower Show, the MOG and I combined it with various orchids swooping in and out of glass containers with great results – we won our class and Best of the Day.  True confession: we found a handyman to do the soldering.


The first time I worked with copper piping was on a long-ago entry at Philadelphia.  The Pinkster and I were in a class called “Un Gran Gourmet”.  We made a giant whisk-looking structure which, as you see, was not without bumpy imperfections. The whole design was close to six feet tall. After the installation, a fellow exhibitor told us about plumber’s tube bending spring set which keeps the copper tubing smooth and kink free.  Just slide it on and then slowly work the curves of the copper.


Here are the tools of the trade. Clockwise from top left, the tube bending spring set (what a mouthful); JB Kwik Weld - acts like solder (Mr. GCA kindly sent this over for me to try); an example of two pieces of tubing ‘glued’ with JB Kwik Weld; a piece of copper tubing with a spring set slipped on it.  In the center is the gismo that cuts the tubing.


Here’s the gismo in action!  It goes round and round til it cuts through.  With the narrowest tubing for refrigerator ice makers, you can simply cut the end with wire cutters but you are left with a crimped end. 


Using the two glue tubes mixed together, spread the glue at the places (noted with blue tape) where the copper pieces meet.  It is important to use enough of the black goopy glue and have enough surface where they meet up.     


Back to my project! My goal is a spaghetti-like structure to which flowers or other plant material might be wired. I worked the copper shape to fit in a tray pan (14” square, jamaligarden.com).   These gladioli are attached to the tubing in more than one place so they stay put. The thin copper wire is supposed to be decorative.  Not sure I worked the fine wire attractively, though.


Water fills the tray so that a half inch of the stems are submerged.  For this group of montbretia  (Crocosmia aurea) stems, the tray is also filled with crushed shells (Michael’s Crafts).  These are so pretty and they echo the warm tones of the flowers and the copper while providing another texture.


My nemisis……fear of soldering.  I’ll take the twelve step program and try to conquer it, but just not now……

Cheers!


Thursday, September 13, 2012

The World in a Jar...


In August the effervescent Tovah Martin came to the Sharon Audubon Center to share her enthusiasm about the little worlds she creates and celebrates in her book “The New Terrarium”, published by Timber Press. 

By recruiting an army of terrarium converts, one in each office cubicle, Tovah believes the stress of work would be greatly reduced and we would all be happier. 
 

She compared the terrariums of the 1960’s which were like science experiments to those of today which are works of art – miniature worlds of calm.  As you see all sorts of containers work for her, many of which she finds in thrift shops for pennies.


When Bride and Groom came for Labor Day weekend, we hiked the Appalachian Trail and made terrariums.  They are fun and simple to make.  Above are our containers and Tovah’s book.  It is best to work with a container you can put your hand in easily – we aren’t building  ships in a bottle!


The ‘ingredients’ are not hard to find: stones, horticultural charcoal, organic potting soil, plus plants.


Given the small diameter of our containers, we used mostly plants from 2” pots.  Terrain in Westport CT features terrarium containers and plants as well as Tovah’s book.  You don’t need specialist plants, however, it is very easy to split a larger plant into two or three.  The supermarket often has small plants.


Let’s start with the layers. First the stones – a layer of 3/8” stones will allow best the circulation of water.  Add a small handful of horticultural charcoal and mix it in. This will keep the water sweet.  We mixed this separately and then put a one inch layer in the container.


Two inches of organic potting soil goes on top of the stones and is leveled and lightly tamped down.  


The planting is just like planting outside.  Make a sufficient hole, plant and firm up.  Do the ‘tug test’ to make sure it won’t pop out.


Our plants were well watered before planting.  Simply add water and a little misting.  Once the lid goes on the container, you are setting up a little biosphere.

 
On the Appalachian Trail we collected (shhh!) some pretty stones, cones and pieces of bark.  These we added to the terrarium for contrast. What a souvenir of the day!  There is no end to the kinds of little objects you might want to include.


You may soon become an addict, finding all sorts of containers and plants to use.  Best to buy Tovah’s book and really learn how to do it – a great project for school kids or a garden club workshop…. and be sure to have fun!

Cheers!

Sunday, September 9, 2012

What Floats your Boat?


Boat shaped containers are not easily found but worth seeking out.  They are versatile for many styles of design.  Their curves make them less weighty than their rectangular counterpoints. Subscribers know that my tables are long and narrow so I am always in search of ways to march the designs down the tables.

Here’s the boat, with a piece of Oasis inside.  Below I have chosen one variegated ti leaf (aspidistra), could be any lovely leaf or leaves that fit inside the shape or not.  

  
The pearl headed pins just hold the leaf in place (www.jamaligarden.com, Michael’s).  It will last a long time this way even though the stem is removed!


With a shear or knife cut a slit in the leaf where you want your flower stem to go in.  I am using very short stems of lilies here.  These buds will open, though not too quickly.


To connect these designs I added painted black curly willow sticks.  These are from www.save-on-crafts.com, but Michael’s, Pier One or other stores often have them.  Or you can paint fresh curly willow, but those sticks are more irregular, which could make them more interesting but harder to work with.

  
The willow stems rest between the flowers on the container and link up the arrangements. Do put the vases in place on the table before you place the willow.  These were from a lunch for the ff campers, using white lilies.


At a dinner, using pink lilies - good thing it was on the porch as the lily fragrance was almost over-powering. 


This version with sunflowers were originally placed on red and white check tablecloths at tables in a tent for a very country luncheon!  Here they have come back to my table, none the worse for wear!

Cheers!


Friday, September 7, 2012

Mums the Word....


Doesn’t everyone have a back-to-school attitude this time of year?

New pencils, books, crayons……and those darn mums!

Tidy, roundy-moundy little gumdrops for the landscape or doorways, they shout autumn which is why I hate to see them pouring into the supermarkets and nurseries early in August.  I want to shout – not yet!!

As cut flowers they are hard to like, being stiff, uniformly branched and not in particularly pretty colors.  Their best characteristic (or not) is that they last forever!

We will remove those stiff branches and use only their bright faces to create a pattern in a plant saucer or other low shallow container.  In the interests of floriferous research, I counted 45 flower heads from bud to bloom in one ten-stem bunch!

 Any low container, soufflĂ© dish, baking pan or outdoor pot saucer will work.  Just be sure it won’t leak.  This design will last a long time if water is regularly added.

First fill the container with long pieces of Oasis which are the same depth as the container.  You can fill in the open areas as I did on the east and west, or not, as on the north and south.

This design is all about color and texture, not flower form. Biedermeier is a design style which calls for formal lines of flowers which are inserted side-by-side to create the patterns.  Notice (above top) how I angled the longer stems so that the flower heads covered the open space where there was no Oasis.  I used a cup and a bowl to make the circle dents (technical term) in the Oasis to guide me.

This technique is called pave – literally from paving stones, which the flower placement resembles.  I have put a spider mum in the center and allowed it to stand up a little taller than its cousins.

Instead of an apple, what about one for the teacher?  This is in a tuna can.  Maybe you will make them for bedside trays at the local nursing home or hospital?

Cheers!


Sunday, September 2, 2012

Attention Campers Part 3


 flowerflinging Camp seems months ago instead of three weeks.  Campers of every age all over the US have returned home for Labor Day. In a sort of last gasp effort, here are the rest of ff campers' creative images and ideas to inspire you.


This exuberant design is constructed with Oasis placed on top of a candleholder. The pale leaves are dried strelitizia.  As they dry, they form the most fanastic shapes.  The dark leaves are cordyline with a beautiful light edge.


The Nominator made this voluptuous structure from a roll of turquoise aluminum wire.  I won’t go through how she did it here but I will in a later post.  However, I do have a new supplier of Oasis wire:  www.marshallfloralproducts.com   They not only have this but some of the newer widths, up to ½” in many colors.


When The Welder came to ffcamp (see “Attention Campers”, August), many structures were made but there was no time to design with them.  The MOG returned and promptly tried out her welded circle which sits on a little metal plate.  Lots of good tropical stuff in this design -  anthurium, proteas, orchids, grasses and ferns – many of which pick up the warm patina of the metal.  Thanks, MOG, for the photo.

Above is another version of the lantern created by the Editor.  She has used more varieties of plant materials - sunflowers, croton leaves, roses, large and small peppers – in a colorful scheme.

Inspired by Tokyo Flowers by Yuji Kobayashi, Stichting Kunst Boek 2011, I tried to replicate his column of woven palm leaves.  The substrate is a rolled and glued column of stiff paper with an opening made for fresh plant material.  I wasn’t happy with the final result – there is a reason they are the masters! – but it was an interesting exercise to try.

Their bags packed & the cars loaded, the last structure for the campers was to inaugurate my pergola construction.  Each camper has some willow that they wove into the frame. 

Cheers!